
A dripping faucet, a shelf to fix, a wall to repaint: these small home projects seem accessible, but they can quickly turn into a headache without a method. Successfully completing DIY tasks at home relies less on talent and more on a few technical reflexes, often overlooked, that make the difference between a clean result and an expensive redo.
Asbestos and old buildings: the risk that DIYers forget
Have you ever drilled into a wall without wondering what it contained? In a home built before 1997, this habit can pose a real health problem. Asbestos, banned in France since that date, remains present in many buildings: floor tiles, ducts, tile adhesives, roofing sheets.
Drilling, sanding, or removing a covering in these materials can release dangerous fibers. According to the INRS, the identification before work must be adapted to the nature of the intervention, even for small home projects. It’s not just for heavy demolitions.
If you are a property owner and you hire a tradesperson, you have a role as the client. This implies a responsibility in the prior identification of asbestos. In practice, before touching an old wall, ceiling, or floor, have a diagnosis done. This step costs much less than decontamination afterward. Browsing the work on the Bricotronique site helps to better understand the types of interventions that require this kind of precaution.
Preparing the DIY project: the steps that no one wants to take
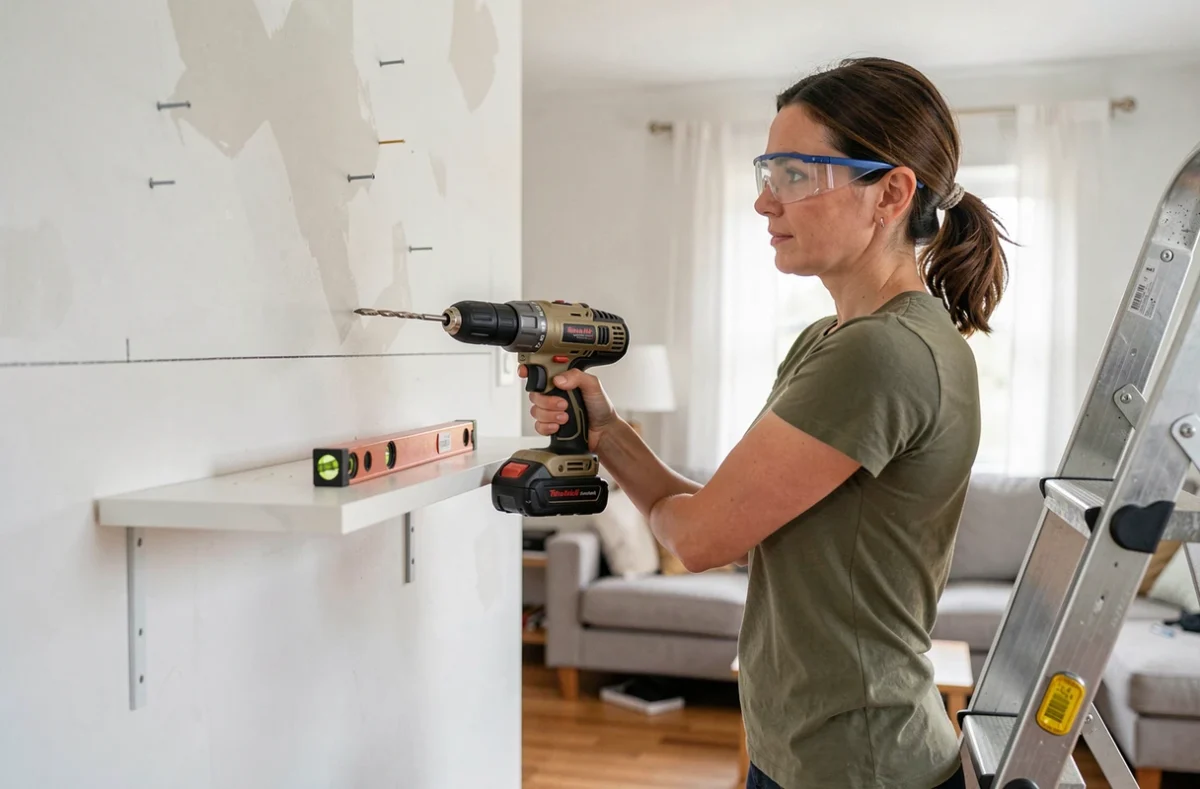
Preparation often accounts for half the total time of a project. Protecting the floor, moving furniture, applying masking tape: these actions may seem tedious. However, they determine the quality of the final result.
Take painting, for example. Applying a coat without washing the wall guarantees peeling in a few months. A clean, dry wall holds paint twice as well as a dusty one. This principle applies to almost all tasks: gluing tiles on a poorly prepared surface, screwing into a wall without locating electrical conduits, applying a seal without degreasing the surface.
Before starting a project, take ten minutes to list what needs to be done before touching the main tool. This preparation list avoids trips back to the store and unpleasant surprises.
The checks not to skip
- Locate pipes and electrical conduits in the wall with an appropriate detector, especially before drilling or cutting
- Check the nature of the substrate (plaster, concrete, hollow brick) to choose the right anchor and drill bit
- Check the plumb and level before any fixing, as a shift of a few millimeters is immediately noticeable on a shelf or hanging furniture
- Turn off the electrical supply or water supply concerned before working on a circuit
Materials and renovation waste: sorting is not optional
One aspect rarely addressed in DIY guides: what to do with rubble, wood scraps, empty paint cans, and leftover materials? Throwing them haphazardly into a dumpster or leaving them in front of your home is not an option.
Sorting renovation waste determines its acceptance at the recycling center. The REP (extended producer responsibility) system for construction is evolving rapidly. Since its implementation, material distributors must offer collection points. In practice, this means that your construction waste can be taken back for free, provided it is sorted.
Separate wood, plaster, metals, plastic packaging, and inert waste (concrete, bricks). Paints and solvents are hazardous waste: they should never be mixed with the rest. Proper sorting from the start avoids rejection at the recycling center and facilitates the reuse of still usable materials.
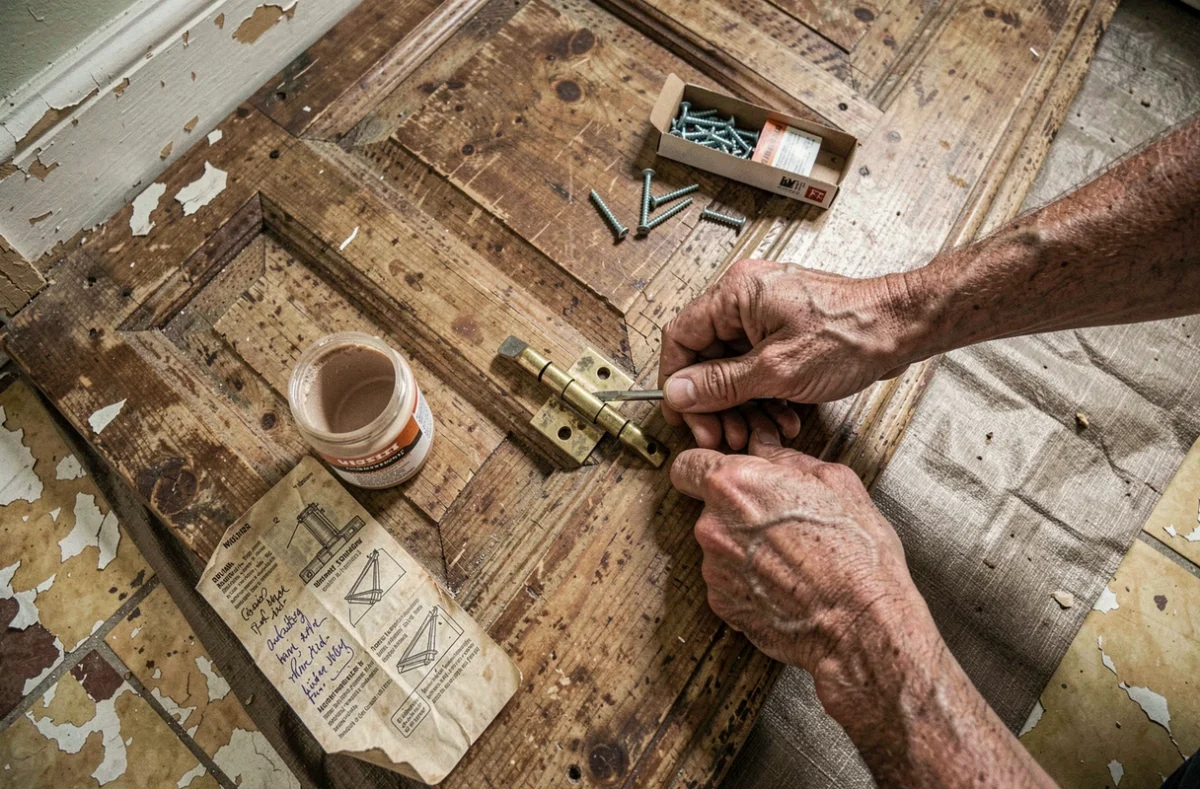
DIY tools: buy less but choose better
The competitors of this article all repeat the same thing: buy good tools. The advice is correct but incomplete. The real trap for the beginner DIYer is not poor quality, but unnecessary accumulation.
You don’t need twenty screwdrivers. A set of bits with a magnetic bit holder replaces half a dozen standard screwdrivers. A hammer drill covers fastening, drilling in wood, and light concrete. A compact laser level replaces the bubble level for most installations.
Before buying a specialized tool for a single use (miter saw, wallpaper stripper, belt sander), check if rental is possible. Most DIY stores offer this service. A tool rented for a weekend costs a fraction of the purchase price, and you won’t have to store it afterward.
Concrete criteria for choosing a durable tool
- The torque (in newton-meters) of a drill-driver matters more than the battery voltage: it determines the capacity for driving screws into hard materials
- A quality self-tightening chuck prevents the bit from slipping under load, a common flaw in entry-level models
- The weight of the tool affects fatigue during a multi-hour project: test it in hand before buying online
Knowing when to stop: the line between DIY and professional intervention
Modifying a non-load-bearing wall, installing a simple light fixture, replacing a faucet seal: these tasks are within the reach of a methodical DIYer. Touching a load-bearing wall, working on the main electrical panel, or dealing with an embedded pipe, no.
A faulty electrical connection is not visible, but it can cause a fire. Poorly done embedded plumbing can lead to water damage that remains hidden for months. These interventions require technical skills and, in some cases, compliance with standards that only a professional can guarantee.
Recognizing this limit is not an admission of failure. It is a sign of a DIYer who understands their project as a whole, including the consequences of a mistake. The best reflex is to break down each project into tasks, then check off those that exceed your current skills. Delegate those.